
Mmm, that title just made your mouth water, didn't it? I'm a biscuit lover, through and through, but I didn't start making my own biscuits (you know, from scratch) until about a month ago. Crazy? Maybe. Why? Because they are SO EASY! I always just popped them out of a can, which is fine, but man, making them from the bare bones -- there's just nothing like it!
For this, I turn to my trusty Joy of Cooking. This book has never steered me wrong! I also love that it includes EVERYTHING -- from boiling an egg to cooking a pigeon (I kid you not). I like that it is basic, but also allows for flexibility if you are an experienced chef. (And yes, I say chef because we're more than just cooks! We're artists! Ok, maybe I'm being silly, but I stand by my terminology.) Anyway, here's what to do to create deliciously easy quick drop biscuits.
Ingredients:
- 1 3/4 cups all-purpose flour
- 1 tablespoon baking powder
- 1/2 teaspoon salt
- 4 to 6 tablespoons chilled butter or shortening (or a combination)
- 1 cup milk
 |
| Ever had your bag of flour rip on the bottom? Yeah, that's what happened to mine. Thank you, plastic bag! |
(It's already easy just from the ingredients!)
1) Preheat the oven to 450 degrees F.
2) Mix together your dry ingredients (flour, baking powder, salt). JofC says sift. I say, whatever... Although, it does really help to heap your flour into the measuring cup with a spoon. If you jam your measuring cup down in the bag, it can compact the flour too much and make it all clumpy. Spoon it in and no need to sift!

3) Cut in the butter using a pastry blender (or 2 knives) until the butter is the size of small peas.
Here's the part where you might be saying, "What?! Cut in? What is that?" Yeah, that's what I said the first time I read that. Well, the first thing you want to make sure you have is a pastry blender. What is that? This:
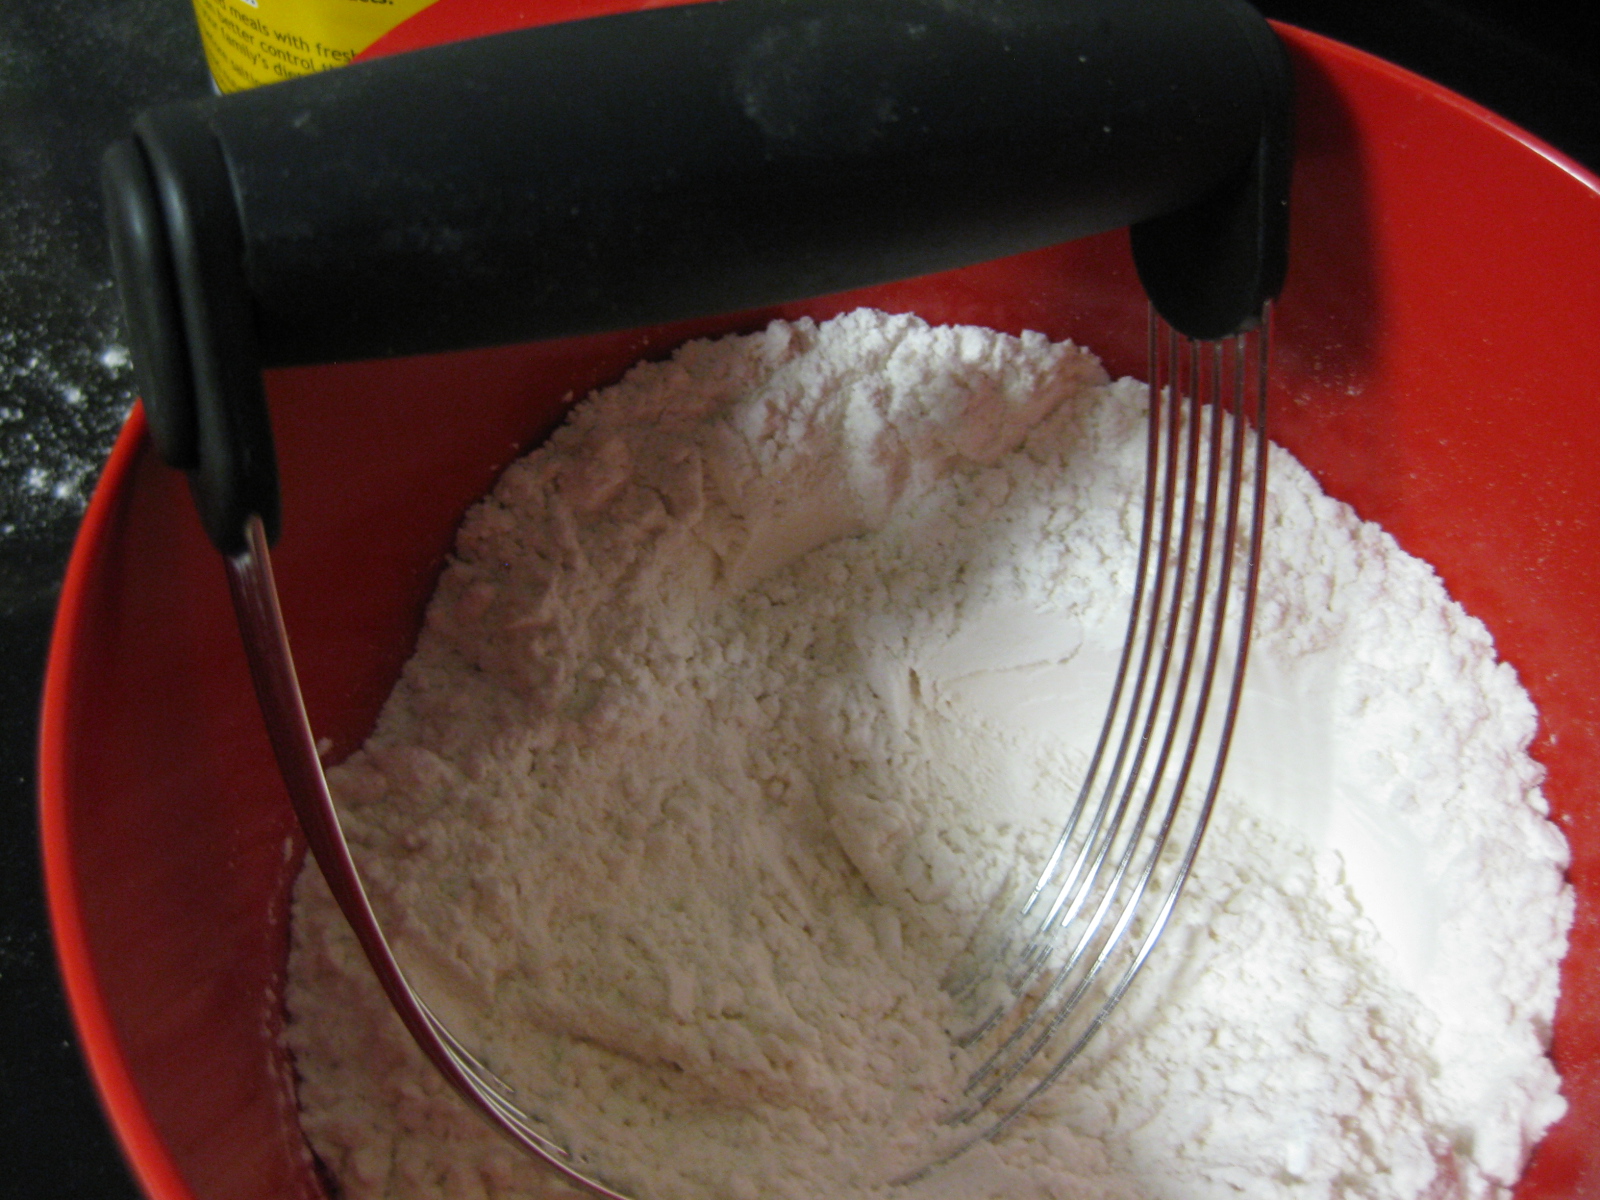
Where can I get it? I got mine at Walmart for $3 :)
Why do I need that thing? The idea is to take super cold butter and break it into smaller pieces that will still remain in tact and melt during baking. This creates that flaky deliciousness that you want your biscuit to have. If you chopped the butter up super tiny and mixed it in, it would get too warm and wouldn't melt right during baking. You can use two knives to cut the pieces apart once they're in the flour, but the pastry blender is SO MUCH faster and easier and seriously inexpensive that it's really worth the investment. Some people do this part in the food processor, but I find that it gets the butter too chopped up and you don't get that flaky goodness.
 |
| I cube my butter first which does make this a bit faster/easier. |
 |
| Sometimes the butter clumps up on the pastry blender. Don't cry. Just scrape it off with your spoon! |
 |
| It should look like this when you're done. Type A's, you are allowed to have some pieces of butter that are bigger than small peas. It's OKAY. Just back away from the bowl. |
Whew, now that we're past the hard part... (seriously)
4) Make a well in the center of your dry ingredients + butter. Pour in the milk, all at once!
 |
| Mmmm, I could swim in that pool of milk! In all seriousness, I hated milk until I got pregnant. Ever since then, we've been fast friends. |
Here's the part where JofC made me laugh...
5) Stir the dough 1 scant minute.
Ha! What's a scant minute?? I don't know. Basically, just don't over mix it. Once the wet and dry come together, you're good. Here's what the dough should look like.

It will be quite sticky. Too sticky to roll out and cut. These are drop biscuits, remember! If you are a fan of the rolled and perfectly round kind, preheat your oven to 400 degrees F, cut back on the milk by a quarter cup, and you'll be all set to roll them out and make perfect little circles to your heart's content. Me? I like just blobbing them down and gobbling them up! No perfect circles for this girl :)
6) Drop walnut-sized dabs of dough from a spoon onto an ungreased baking sheet and bake 12 to 15 minutes or until lightly browned.

My biscuits are bigger than walnuts. My husband likes to make little ham and cheese sandwiches out of them, so bigger works better for us. Also, I do find that rubbing my baking sheet down with some butter makes for a happier biscuit bottom, but it's up to you. My oven pops these babies out at exactly 12 minutes on the dot, so make sure to check yours carefully!
 |
| Before... |
 |
| ... After! |
Now comes the fun part -- eating them! Drizzle with honey (my personal favorite), slather with jam or jelly, drown with gravy -- whatever your fancy. Enjoy :)
Disclosure: Affiliate links
I make whipping cream drop biscuits every month or so and they are so good. Your's look amazing!
ReplyDeleteI am following the blog hop and am now your latest GFC follower myw1ldcrazylife. I hope you can stop by http://mywildcrazylife.blogspot.com and follow me too!